DIY Idea: Cascading Lantern
As summer comes to an end and school has started for many of us, now is the time to host that last BBQ or outdoor event (even if it’s just your immediate family in this weird COVID world we are currently living within). We’ve got the perfect diy project to bring a touch of style to your porch, backdeck, or table for such an event – hanging lanterns!
These would also look great in groupings for a backyard wedding – hanging in the trees, on an archway, or under a string of lights!
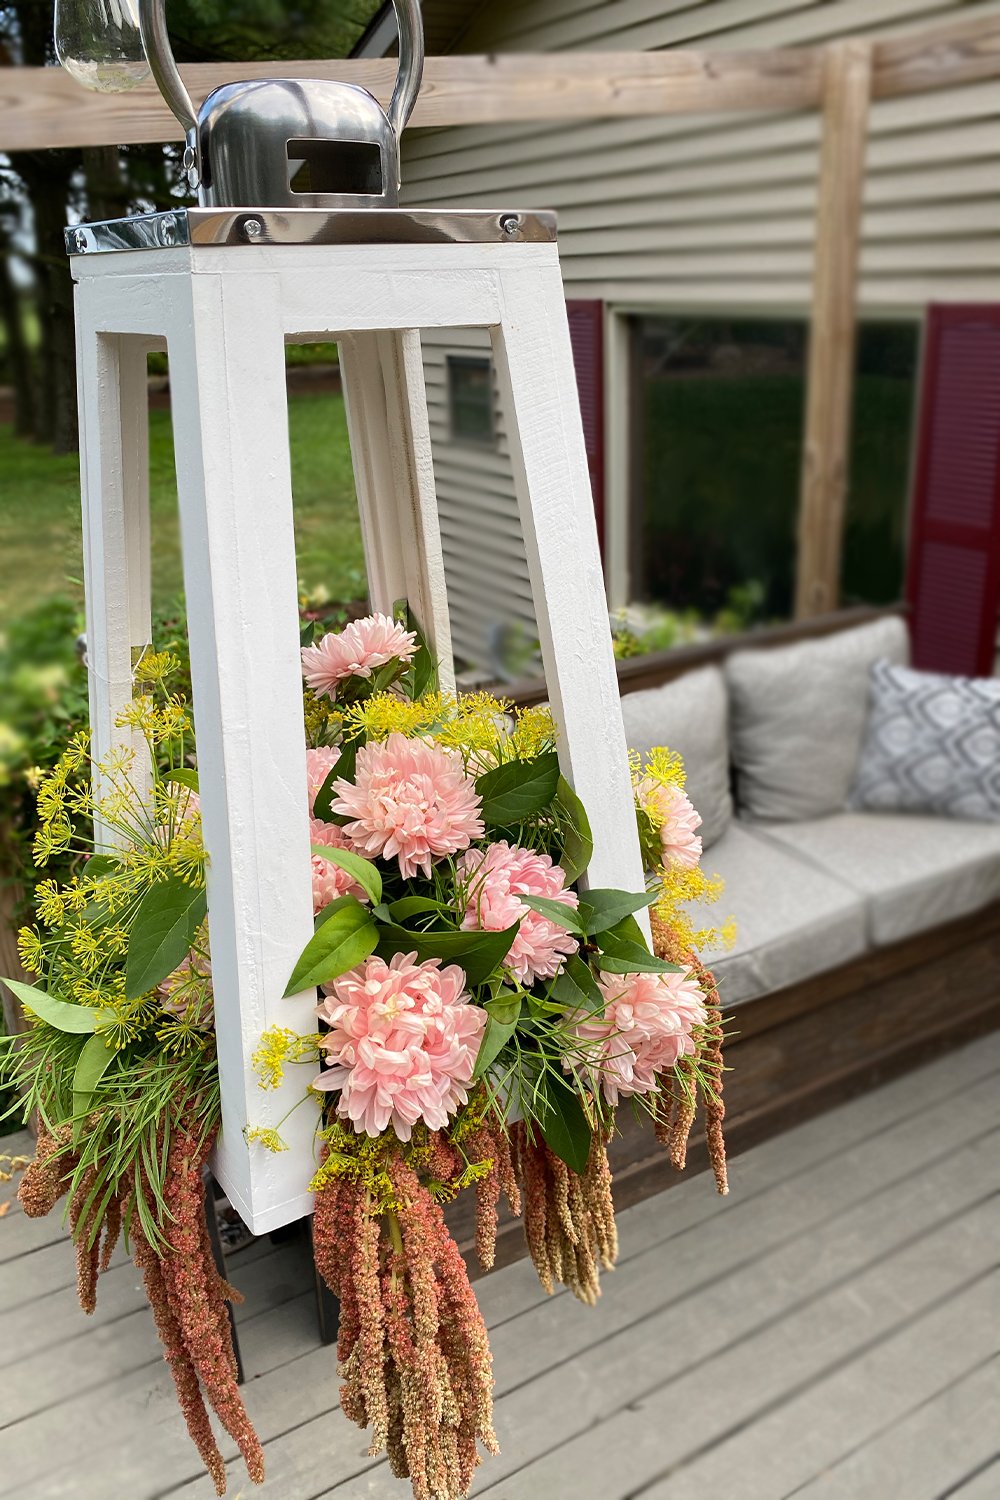
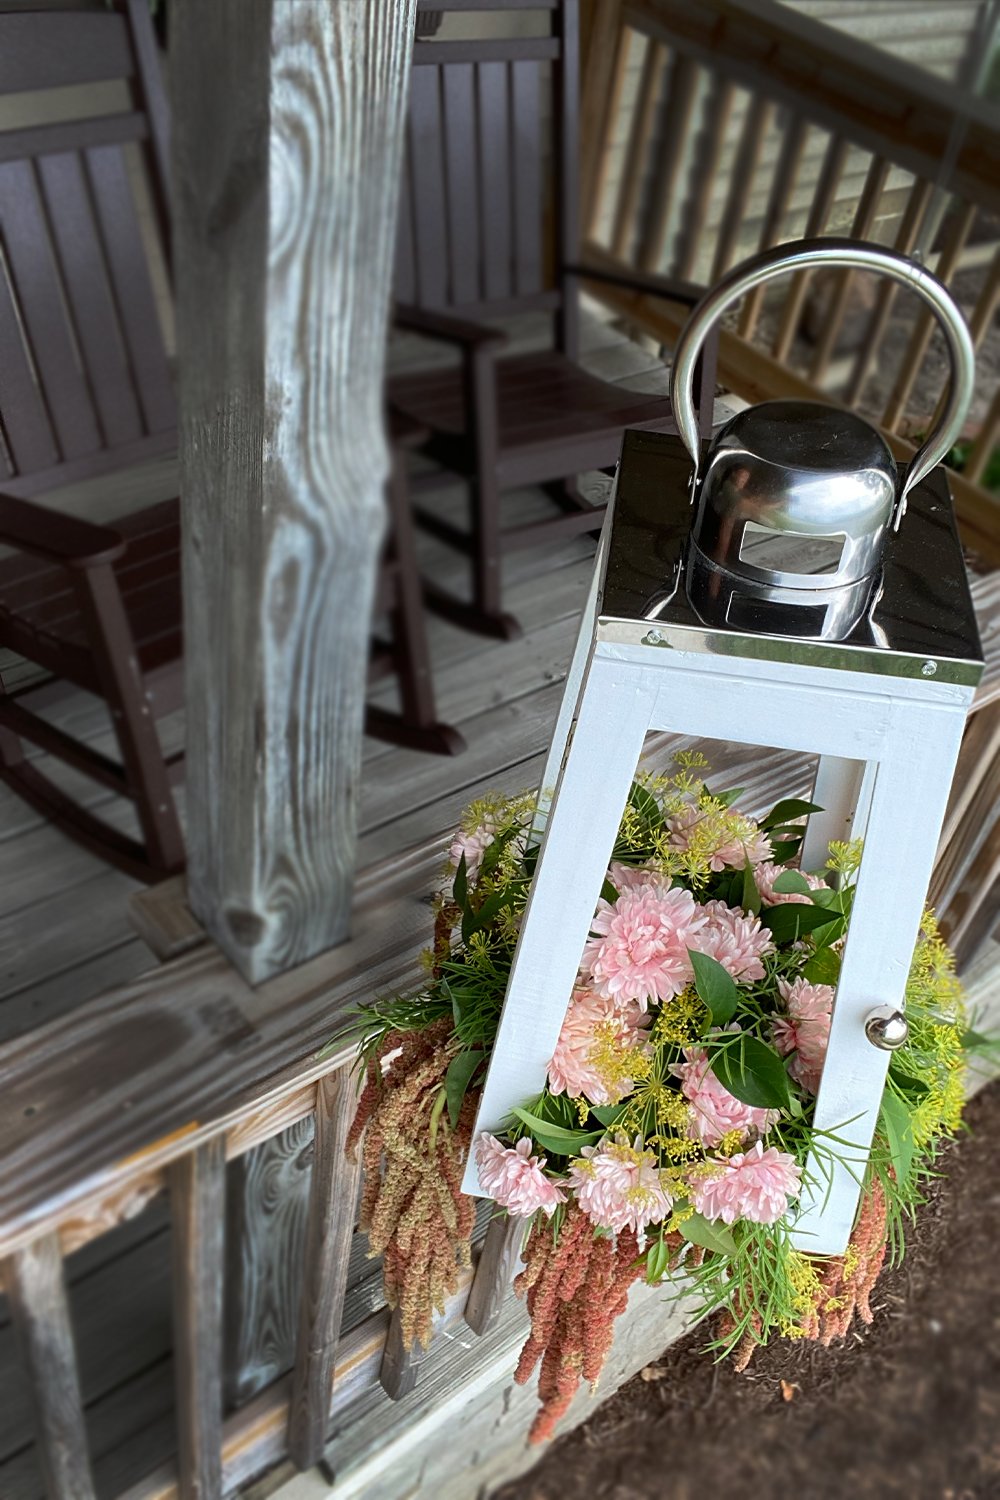
What better to pair with hanging lanterns than hanging amaranthus?! Keeping the color palette to a couple of colors allows you to have a lot of fun with movement and texture. This delicate white lantern is full of summer asters, dill, cosmos, forsythia leaves, and ‘coral fountain’ amaranthus.
Make It Yourself, Here’s How…
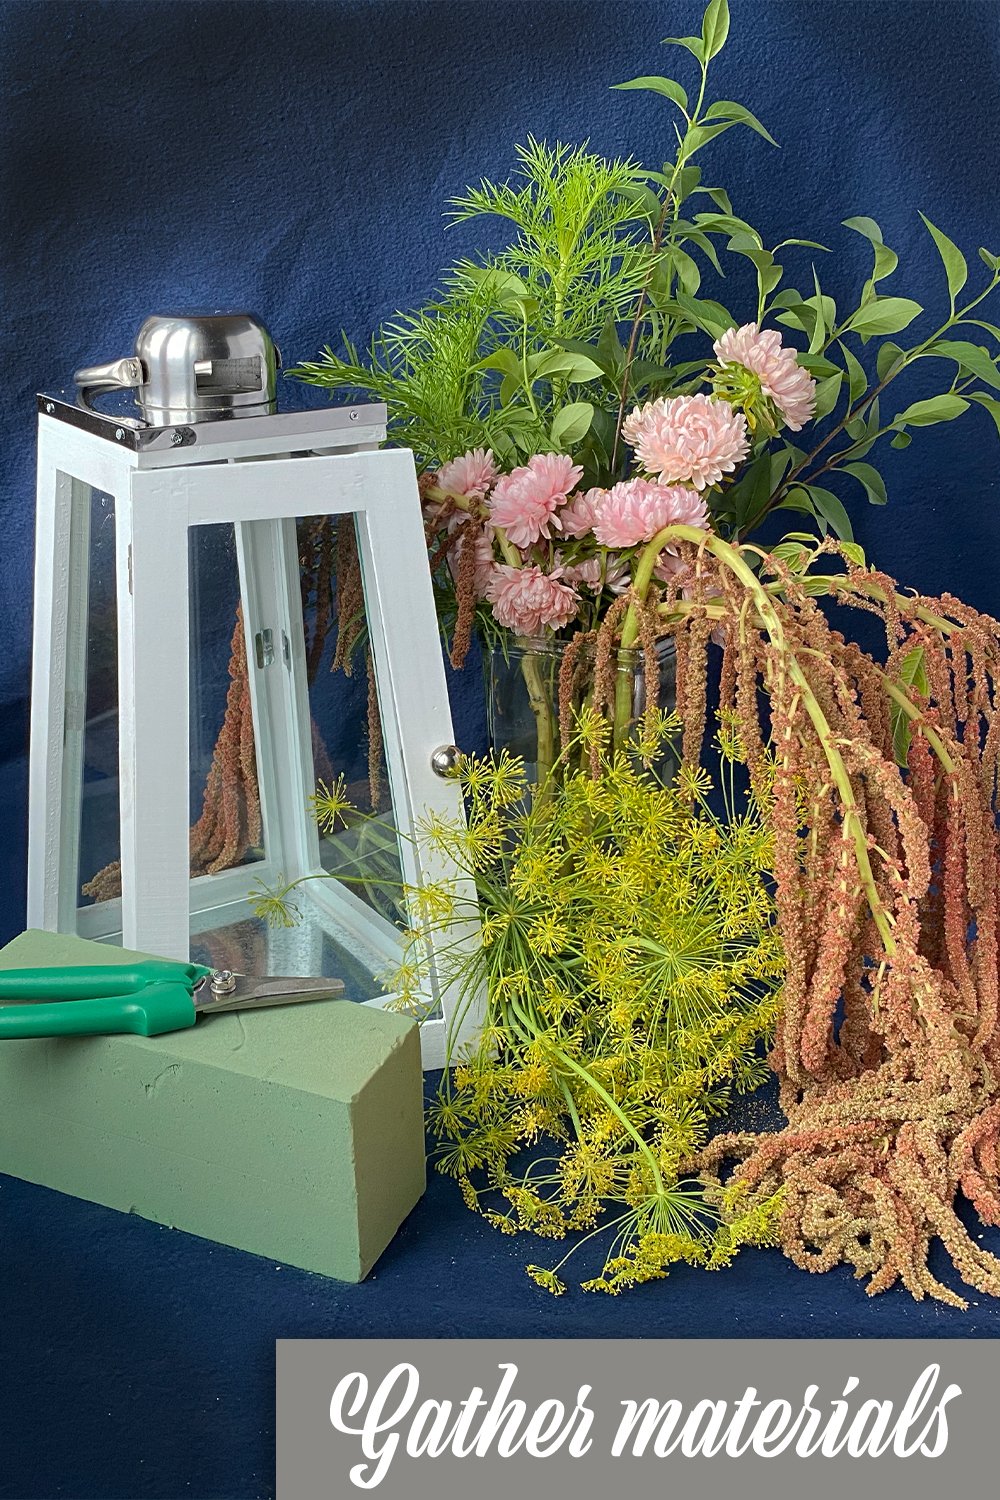
First gather up all your florals and supplies.
Items Needed:
Lantern(s)
Hanging Amaranthus
Other greenery (we used Cosmo and Forsythia leaves)
Focal flowers (we used ‘Tower Chamois’ summer asters)
Texture (we used ‘Bouquet’ Dill)
Floral Foam
Floral Snips or Scissors
Lanterns are very trendy and you can find them everywhere. I’ve had a few pinned to boards over the years on Pinterest and find myself always picking up a few at Hobby Lobby or other home decor stores. These sources are also great for finding more ideas on how to style lanterns!
I’ve had this lantern for a few years now, it was gifted from my brother and sister-in-law a while back and has been decorated in several locations in our house over the years. I love it because it’s a great neutral white, large enough that a lot fits within it, and the glass panels come out fairly easily – so it can be styled in many different ways!
I wanted a cozy warm look and chose to stick with pinks and yellows – since I love that color scheme with the silver and white of the lantern. The shutters on our house are also a dark brick red so the pinks I thought would play off those well in our backyard. (Shameless plug – All the flowers and greenery I’m using, were grown on our farm and are available for purchase if you’d like to replicate this lantern exactly.) You could also use artificial flowers or other flower varieties/colors to obtain the look you’d prefer with your lantern.
I chose a pink focal flower, ‘Tower Chamois’ Asters, because they have a long vase life and don’t wilt in the heat – perfect for this outdoor setting. The ‘Coral Fountain’ Amaranthus adds texture and movement as it drapes outside the lantern, and coordinates well with the pink asters. I chose ‘Bouquet’ Dill, Cosmo greenery, and leaves from our Forsythia brushes as greenery filler because they were complimentary with the pink tones, displayed different textures, and all have a good vase life. The dill adds an amazing scent to the lanterns also!
Assembly
Once you’ve gathered the supplies and decided on your look, next is putting it together. Cut and shape your floral foam down to size to fit within your lantern. Then fill a container up with water and let you foam fill up with water.
While your foam is filling up with water, start cutting your florals down to size for your arrangement. Create fresh angled cuts on all stems. Separate all flower bunches into individual stems. And cut down the greenery and place into piles on your counter for easy assembly.
Next, take your foam that now is soaked with water and insert it in the bottom of your lantern. I put a small plastic green plate under mine before I put both inside the lantern – my lantern has a metal bottom and I didn’t want it to rust or stick to the foam. Depending on where your hanging this lantern, you might want to add double side tape or hot glue to your foam/lantern if it’s going to be windy or there’s any chance of it falling.
Starting with the amaranthus, insert the stems into the foam – making sure to rotate the lantern to each side.
Next, add the other greenery to cover the foam and give the lantern arrangement body.
Add the focal flowers next, making sure to insert them in the foam at different heights and positions. All sides of the lantern should be beautiful and the foam should not be seen from any angle. Finally, add the texture (dill) in spots between the flowers. This will add interest and a wonderful aroma to the space.
There You Go!
Now go find a place outside to display your new cascading floral lantern. Then invite all your family and friend over for one last summer hoo-rah!
Enjoy the time together. Cherish those relationships. And have fun!
We’d love to see and hear about your lanterns and other floral diy projects – so leave a comment below. And share it with us on social media, find us @pineandposey!


