DIY Wedding Flower Timeline: When & How to Arrange Your Blooms
Planning your floral timeline is just as important as choosing your blooms. As your local flower farmer, I want to make sure you not only receive beautiful, freshly harvested flowers—but also that you feel confident arranging them for your big day. With a little preparation and the right timing, your DIY wedding flowers can be both stress-free and stunning.
3–6+ Months Before the Wedding
Decide if DIY is Right for You: Assess whether you have the time, resources, and willingness to take on the responsibility of creating your own floral arrangements.
Set Your Budget: Determine the funds available for flowers and related supplies. This will guide your choices and help keep expenses in check.
Consult with Florists: Reach out to us! We offer FREE quotes. We’d love to help with your big day. We will work to understand your preferences and vision while respecting your budget. We’ll offer advise of seasonal availability, cost-effective alternatives, and practical advice for your selections.
Gather Inspiration: Explore various sources like Pinterest, Instagram, and wedding blogs to identify styles, color palettes, and specific flowers that resonate with your vision.
Create a Master List of Arrangements: Detail every floral piece you'll need—bouquets, boutonnieres, centerpieces, etc.—and specify the quantity of each.
Itemize Flower Requirements: Break down the exact types and numbers of flowers needed per arrangement to calculate your total order. Ensure this aligns with your budget.
Plan the Logistics: Decide on workspace for arranging, storage solutions, transportation to the venue, and enlist helpers for the process.
2–3 Months Before the Wedding:
Finalize your floral vision. Think about your ceremony backdrop, centerpieces, personal flowers, and any extras (like aisle swags or bud vases).
Confirm with us and order your DIY bulk blooms.
Watch some basic arranging tutorials (check out the centerpiece, bouquet, and arch pages for guidance).
3–4 Weeks Out:
Touch base to reconfirm your flower pickup date and time.
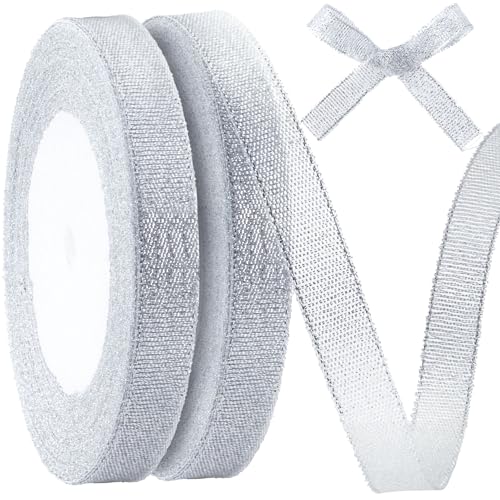
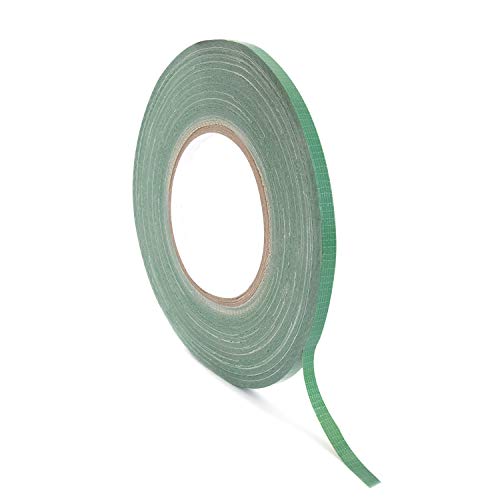
Finalize your mechanics and tools—make sure you’ve got snips, buckets, chicken wire, floral tape, and vessels. Visit our Amazon shop for all our suggested supplies!
Create your flower plan: what flowers go where, what needs to be made in advance, and what needs to be assembled on-site.
the Week of
Wednesday or Thursday (Pickup Day):
Pick up your blooms from the farm! They’ll be freshly harvested, hydrated, and ready for you to work with.
Once home, unwrap them and get them into clean buckets of water.
Trim stems, remove excess foliage, and place everything in a cool, dark space.
Thursday (Optional Prep Day):
Begin by making anything that can be done ahead—aisle swags, table garlands, or signage flowers. Store them in water or misted in coolers.
Friday (Main Design Day):
Arrange your centerpieces, bouquets, and any other designs that can be stored overnight.
Store everything in a cool spot out of direct sunlight. Recut stems and refresh water as needed.
Saturday (Wedding Day!):
Install your ceremony pieces like arches or aisle swags.
Place table arrangements and double check bouquets are hydrated and fluffed.
Do one last sweep for details—ribbons, tags, etc.
QUICK TIPS
Make a plan
Before you touch a single stem, take a breath and get organized. Know what arrangements you're making (bouquets, centerpieces, etc.), and how many of each. Sketch a rough layout or make a list pairing flower types to each item — this will help you pace your blooms and stay focused as you design. Start early and ask for help from bridesmaids, friends, and family!
Work biggest to smallest
Begin with large arrangements first—like ceremony pieces—then move to smaller ones. Start each arrangement by placing your biggest elements first — focal flowers, statement greenery, or large branches. These set the overall shape. From there, layer in medium-sized blooms and finish with small filler flowers, vines, and accents to soften and tie it all together. Pro Tip! A lot of times you can create boutonnières and corsages from any broken stems or greenery you’ve trimmed from your bigger arrangements.
Spurge on the correct supplies
Having the right tools makes all the difference. Sharp snips, floral tape, chicken wire, waterproof buckets, and floral wire will save you frustration. Don’t skimp on things like hydration or stem-wrap tape — they keep your flowers looking their best longer and make arranging smoother.
Keep in water as long as can
Hydration is everything. Always keep stems in clean water while you're working, and store finished arrangements in a cool, dark space until setup. If you’re building something like a hanging installation or an arch, prep your flowers in buckets and only attach them at the last possible moment.
do not over do it!
The beauty of fresh flowers is their wild, natural charm — don’t feel the need to force perfection. Let the flowers do what they do best. If you’re feeling overwhelmed, step back, sip something cold, and come back with fresh eyes. Simple is often the most stunning.